Bringing Your Dream Living Room Design to Life: A Step-by-Step Guide

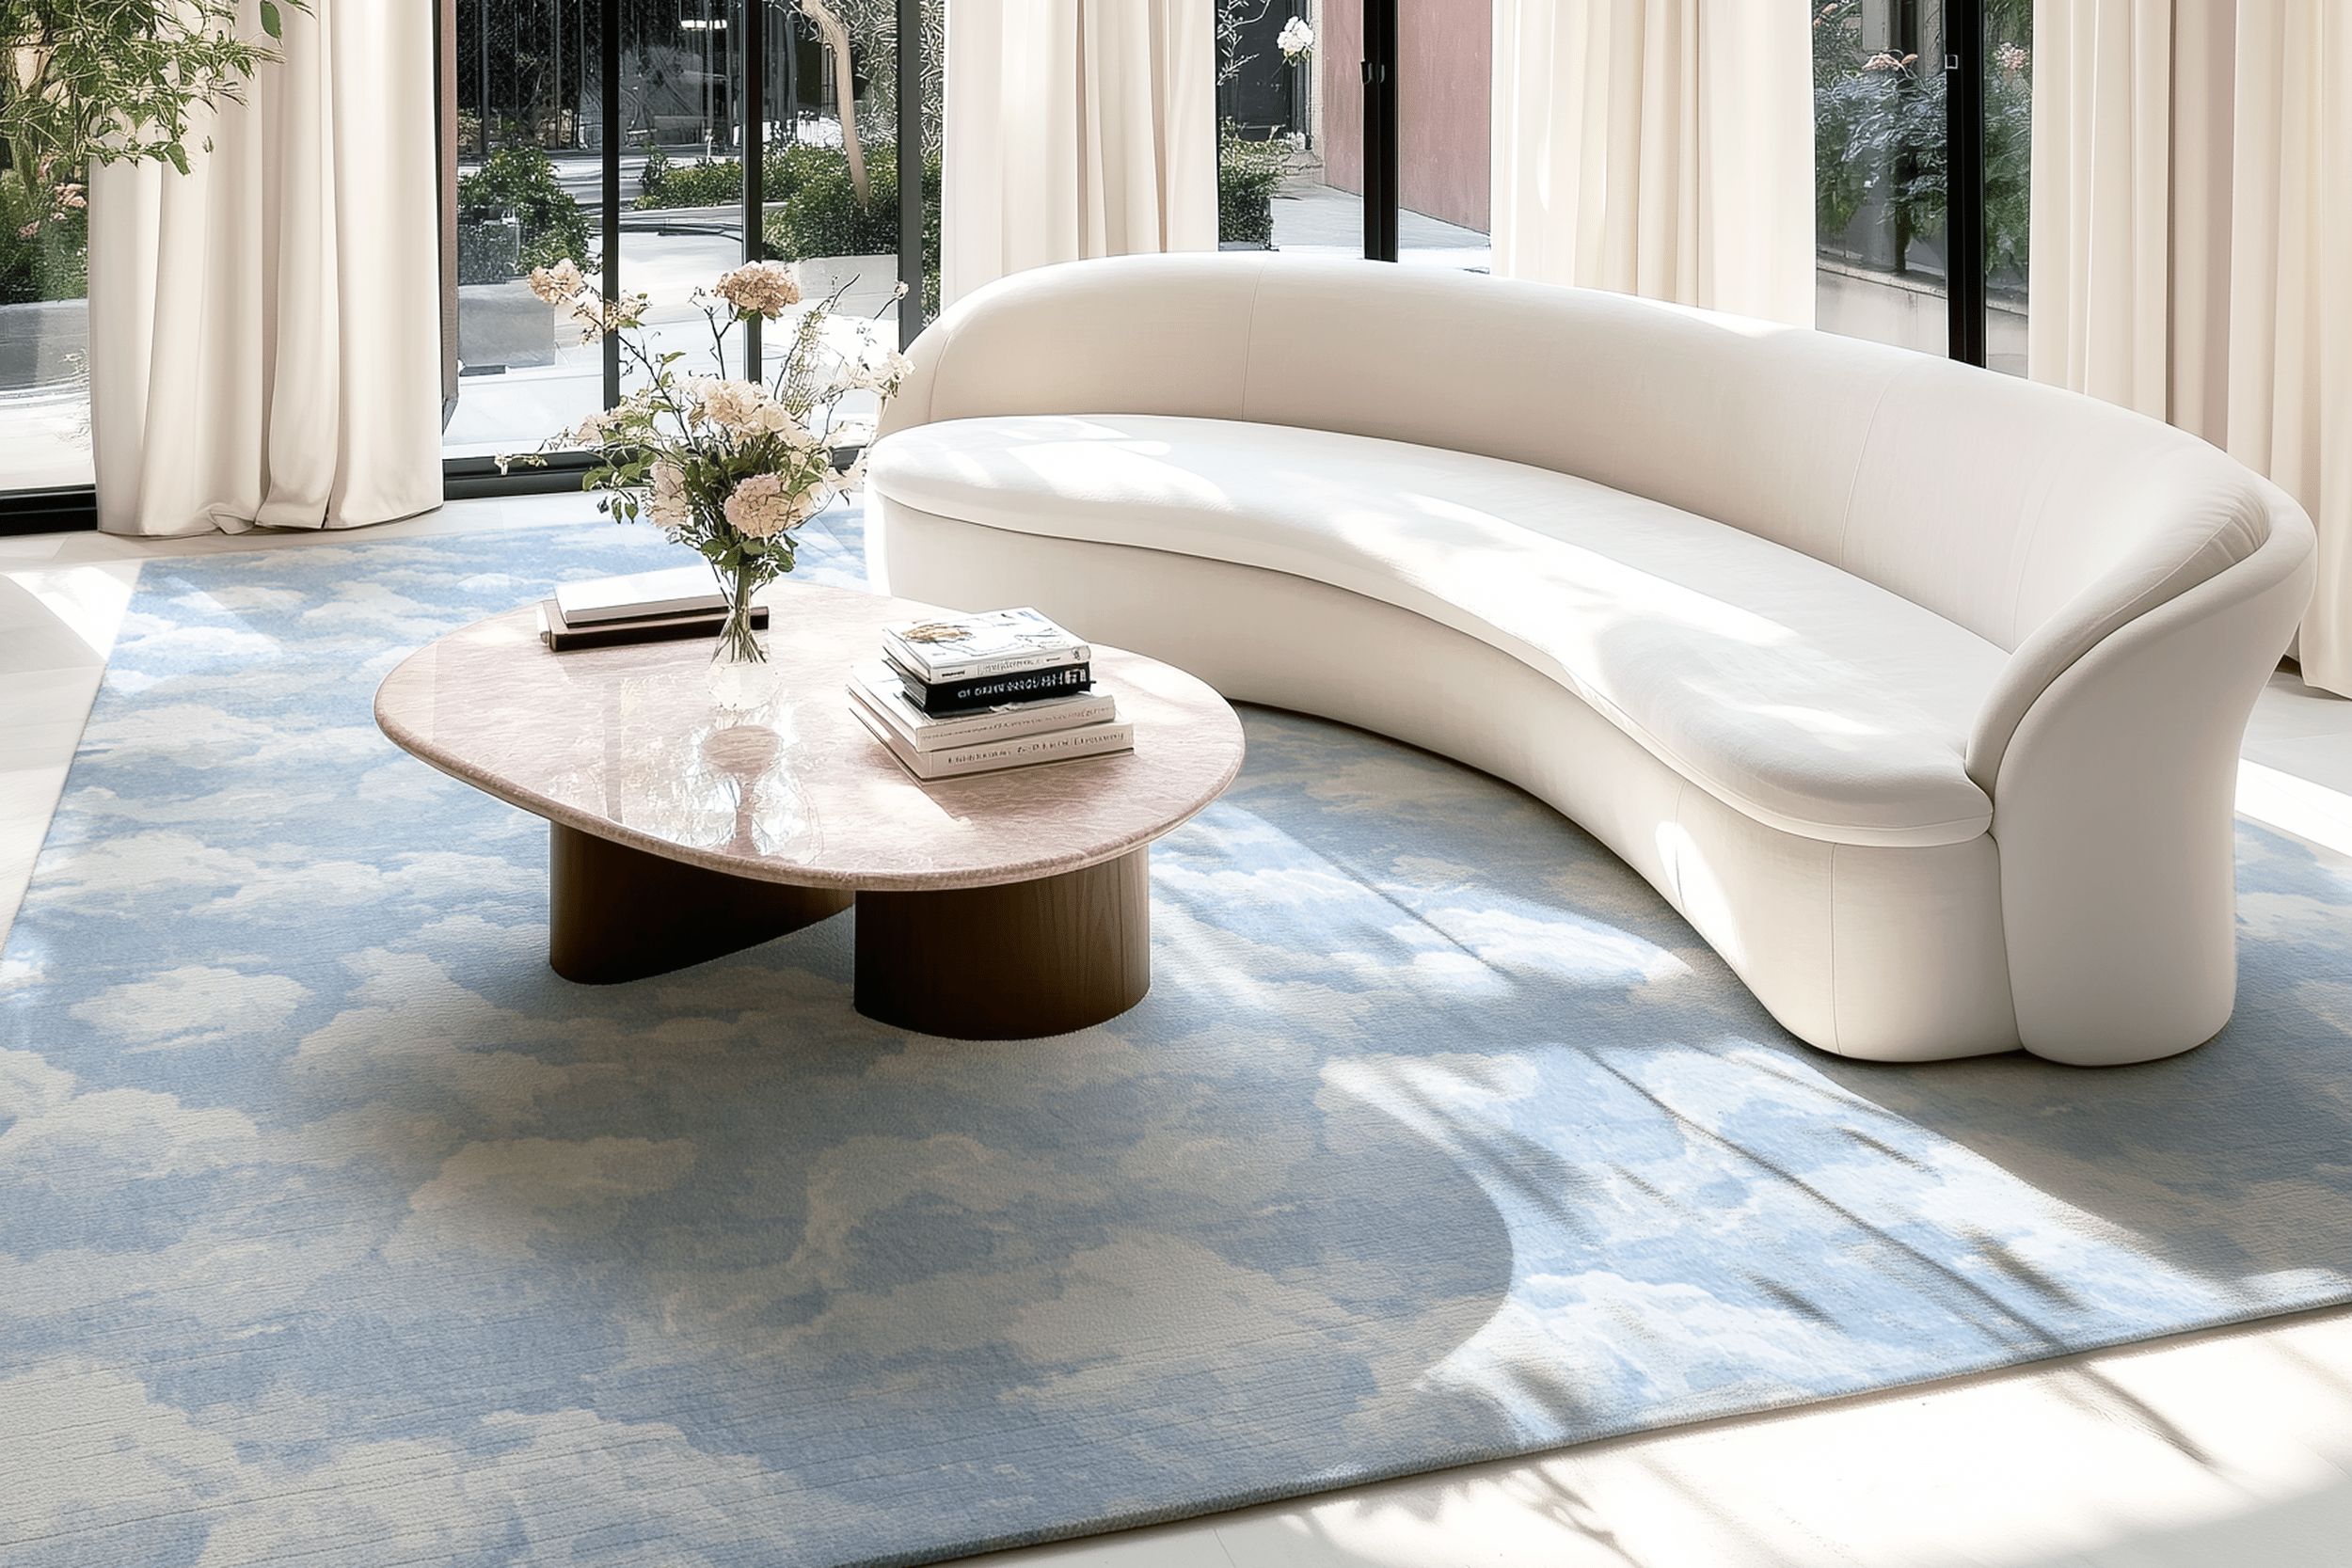
Turning your dream living room into reality is all about planning and visualization. Designing a space where comfort meets style requires a thoughtful approach. This is where 3D rendering of the living room steps in as a game-changer, providing a clear visual representation of your ideas before making final decisions. With this powerful tool, you can see your dream space come to life—down to the last detail—ensuring everything aligns perfectly with your vision.
Step 1: Define Your Vision and Style
Every great design starts with a vision. In this section, you’ll want to reflect on your unique style and how you want your living room to feel. Do you prefer a cozy, traditional aesthetic, or are you drawn to modern, minimalist interiors? Collect ideas and inspirations from Pinterest, home décor magazines, and other resources. Using 3D renders in the living room, you can bring those ideas into focus, visually mapping out how the pieces you love fit together in the actual space.
Step 2: Measure and Plan Your Space
The foundation of any successful living room design is space planning. Start by measuring the room accurately, ensuring every inch is accounted for. This allows you to create a well-thought-out layout that suits your lifestyle. Whether it’s arranging seating areas or planning entertainment zones, living room interior design rendering software allows you to test out various layouts and understand how each element interacts within the space.
Step 3: Choose the Right Furniture and Layout
Now comes the fun part: choosing the furniture. Your furniture should reflect your style and work with the room’s dimensions. Consider functionality—think how the furniture will be used and how it contributes to the room's flow. With living room renders, you can see how different pieces look in the space, allowing you to adjust until you find the perfect balance between comfort and aesthetics.
Step 4: Focus on Lighting and Color Schemes
Lighting and color are the key elements that can make or break your living room design. Ambient, task, and accent lighting should create the right atmosphere, while the color scheme should tie everything together. 3D rendering of the living room helps you test different lighting setups and color palettes, ensuring that your choices enhance the room’s overall feel, whether cozy and warm or bright and airy.
Step 5: Add Personal Touches with Decor
Personal touches like artwork, throw pillows, and indoor plants can make a room truly yours. These elements add personality and warmth, transforming your living room into a space where you’ll love spending time. Using living room 3D renders, you can experiment with different décor items, seeing how they fit into your design without the risk of making costly mistakes. Go ahead, get creative!
Step 6: Review and Adjust with 3D Rendering Tools
Before committing to your final design, review everything using a 3D rendering of the living room. This step allows you to fine-tune any aspects of the room, whether rearranging furniture, adjusting the lighting, or playing with color schemes. 3D rendering tools will enable you to tweak your design until it’s right, helping you avoid regrets.
Conclusion
In conclusion, designing your dream living room doesn’t have to be overwhelming. By leveraging the power of 3D rendering, you can visualize your ideas, make adjustments, and confidently bring your vision to life. Take your time to explore different styles, layouts, and finishing touches. With careful planning and visualization, your dream living room will not only meet your expectations—it will exceed them.
Browse by Category

Design Projects
Explore interiors from client work and personal renovations — layered, livable, and always in progress.
read more →
Collaborations
From product launches to styled spaces, discover the brand stories I’ve helped bring to life.
read more →
The Notebook
A growing archive of iconic designers, inspiring artists, and unforgettable design moments.
read more →
Travel by Design
Wander with a designer’s eye — from charming hotels and city guides to visual inspiration abroad.
read more →


